
Eines Morgens, während ich in meiner Küche das Aroma von frisch gebackenem Zimt einatmete, kam mir die Idee für etwas ganz Besonderes: Zimtschnecken Käsekuchen mit Keksboden. Diese Kombination aus einem klassisch cremigen Käsekuchen und den warmen, einladenden Noten von Zimt ist nicht nur eine Augenweide, sondern auch überraschend einfach zuzubereiten. Perfekt für kleine Feiern oder einfach nur so, begeistert dieser Kuchen mit einem knusprigen Keksboden und einer himmlischen, geschmeidigen Füllung. Und das Beste? Ihr benötigt nur wenige Zutaten und könnt es schnell in den Ofen schieben. Seid ihr bereit, eure Geschmacksknospen zu verwöhnen?
Why will you fall in love with this cake?
Irresistible flavors: The warm, aromatic blend of cinnamon and creamy cheesecake creates a delightful harmony that will transport your taste buds to dessert heaven.
Easy to make: With minimal ingredients and straightforward steps, this recipe is perfect for both novice and experienced bakers alike.
Versatile dessert: Whether it’s for a cozy family gathering or a festive celebration, this cake is sure to impress your guests.
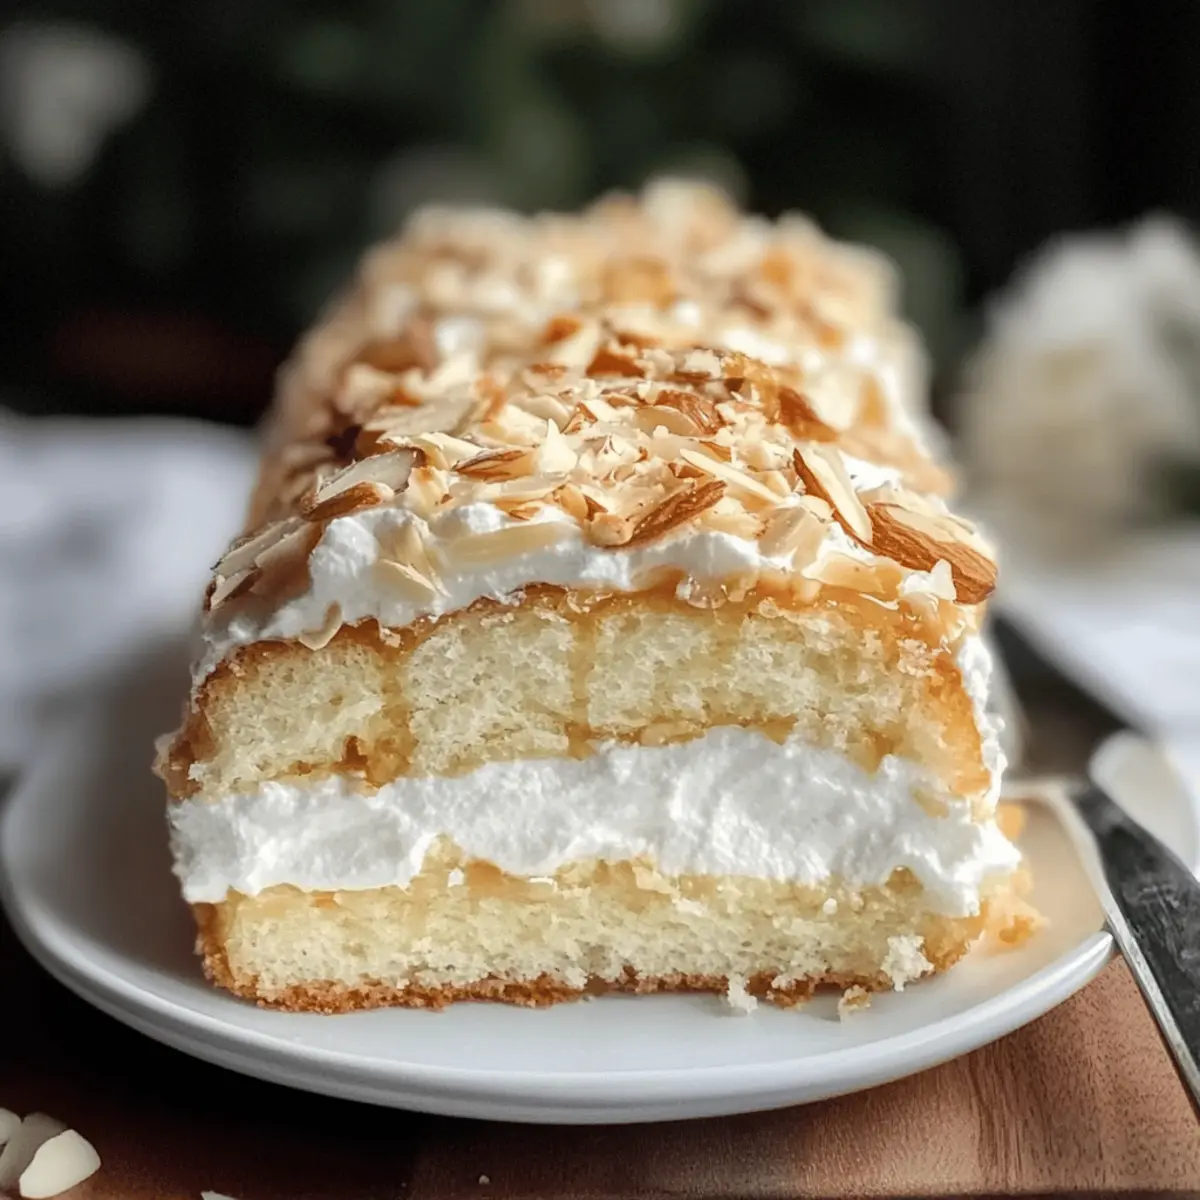
Crunchy base: The cookie crust adds a wonderful crunch, perfectly contrasting the smooth cheesecake filling.
Quick baking: In under an hour, you can have this delightful treat ready to enjoy—perfect for those busy days when dessert cravings strike!
Elevate your homemade dessert game with this stunning recipe and surprise everyone at your next gathering!
Zimtschnecken Käsekuchen Zutaten
• With just a handful of simple ingredients, you’ll have everything you need to create this decadent dessert.
Für den Keksboden
- Butter – adds richness and helps bind the cookie crumbs together.
- Zucker – enhances sweetness, balancing the creamy cheesecake layer.
- Kekskrümel – provides the crunchy base; use graham crackers for a traditional flavor.
Für die Käsekuchenfüllung
- Frischkäse – gives the cheesecake its beautiful creamy texture; room temperature is best for easy mixing.
- Zucker – sweetens the filling; adjust to taste if you prefer a less sweet cheesecake.
- Eier – binds the ingredients together; ensure they’re at room temperature for a smoother mix.
- Zimt – infuses that warm, inviting cinnamon flavor characteristic of cinnamon rolls; don’t skip it!
- Sahne – adds an extra layer of creaminess; feel free to use a lower-fat version if preferred.
With these Zimtschnecken Käsekuchen Zutaten, you’re well on your way to treating yourself and your loved ones to a decadently delicious dessert!
Step-by-Step Instructions for Zimtschnecken Käsekuchen
Step 1: Prepare the Cookie Crust
Start by preheating your oven to 180°C (350°F). In a mixing bowl, combine cookie crumbs and melted butter, mixing until the mixture resembles wet sand. Press the crumb mixture firmly into the bottom of a 9-inch springform pan to create an even layer. Bake for about 10 minutes until lightly golden, then remove from the oven and set aside to cool while you prepare the cheesecake filling.
Step 2: Mix the Cheesecake Filling
In a large mixing bowl, beat the cream cheese until smooth and creamy, about 2 minutes using an electric mixer on medium speed. Gradually add in sugar and mix until well combined. Then, add the eggs one at a time, mixing just until blended after each addition. Lastly, stir in the cinnamon and cream, ensuring everything is fully incorporated for your smooth Zimtschnecken Käsekuchen filling.
Step 3: Assemble the Cake
Once your base is ready and the filling is mixed, pour the cheesecake mixture over the cooled cookie crust in the springform pan. Gently spread the mixture to ensure an even layer. The top should look smooth and inviting, ready to be baked. Prepare for a delightful baking experience as you move to the next step!
Step 4: Bake the Cheesecake
Bake the assembled Zimtschnecken Käsekuchen in the preheated oven for about 45-50 minutes. The edges should feel set, while the center may still have a slight jiggle. This indicates your cheesecake is perfectly cooked. Turn off the oven and crack the door slightly, allowing the cake to cool gradually without sudden temperature changes that could cause cracks.
Step 5: Chill and Serve
Once cooled, refrigerate the cheesecake for at least 4 hours, ideally overnight, to firm up and enhance flavors. When you’re ready to serve, remove the sides of the springform pan, cut into slices, and enjoy your delightful Zimtschnecken Käsekuchen with your friends or family, embracing the warm, cozy taste of homemade goodness!
Zimtschnecken Käsekuchen Variations
Feel free to let your creativity shine by customizing this dish—there’s an endless world of flavors and textures to explore!
-
Gluten-Free: Use gluten-free cookie crumbs for the crust to accommodate those with gluten sensitivities. It’s an easy swap that ensures everyone can indulge.
-
Nutty Twist: Incorporate finely chopped walnuts or pecans into the crumb mixture. This adds a delightful crunch and enhances the warmth of cinnamon.
-
Less Sweet: Reduce the sugar in both the crust and filling for a more balanced flavor. This allows the richness of the cream cheese to shine through beautifully.
-
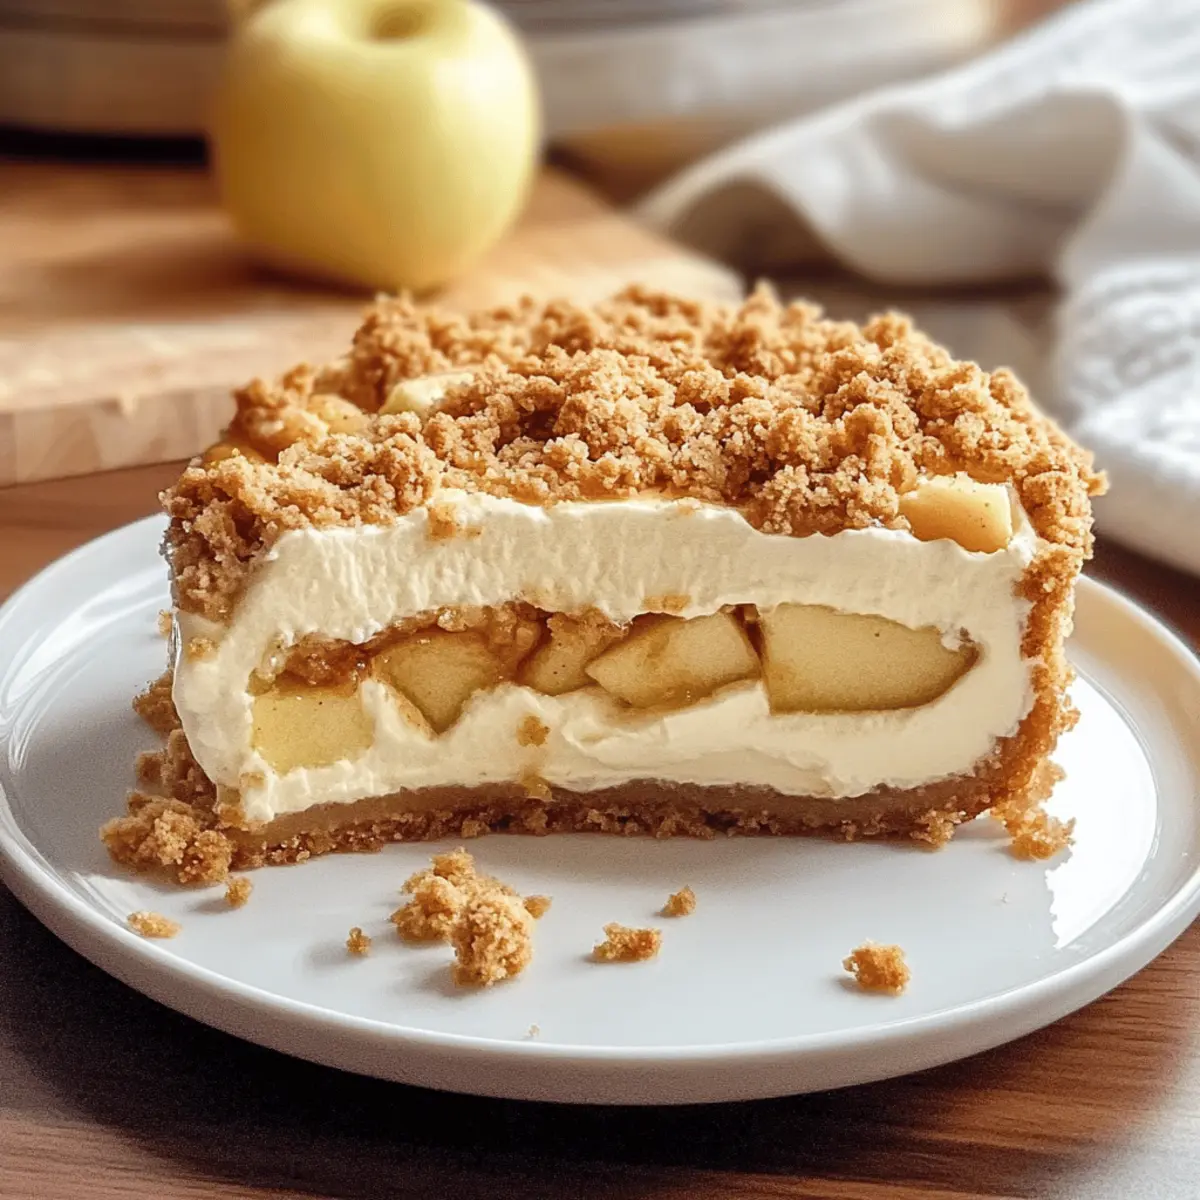
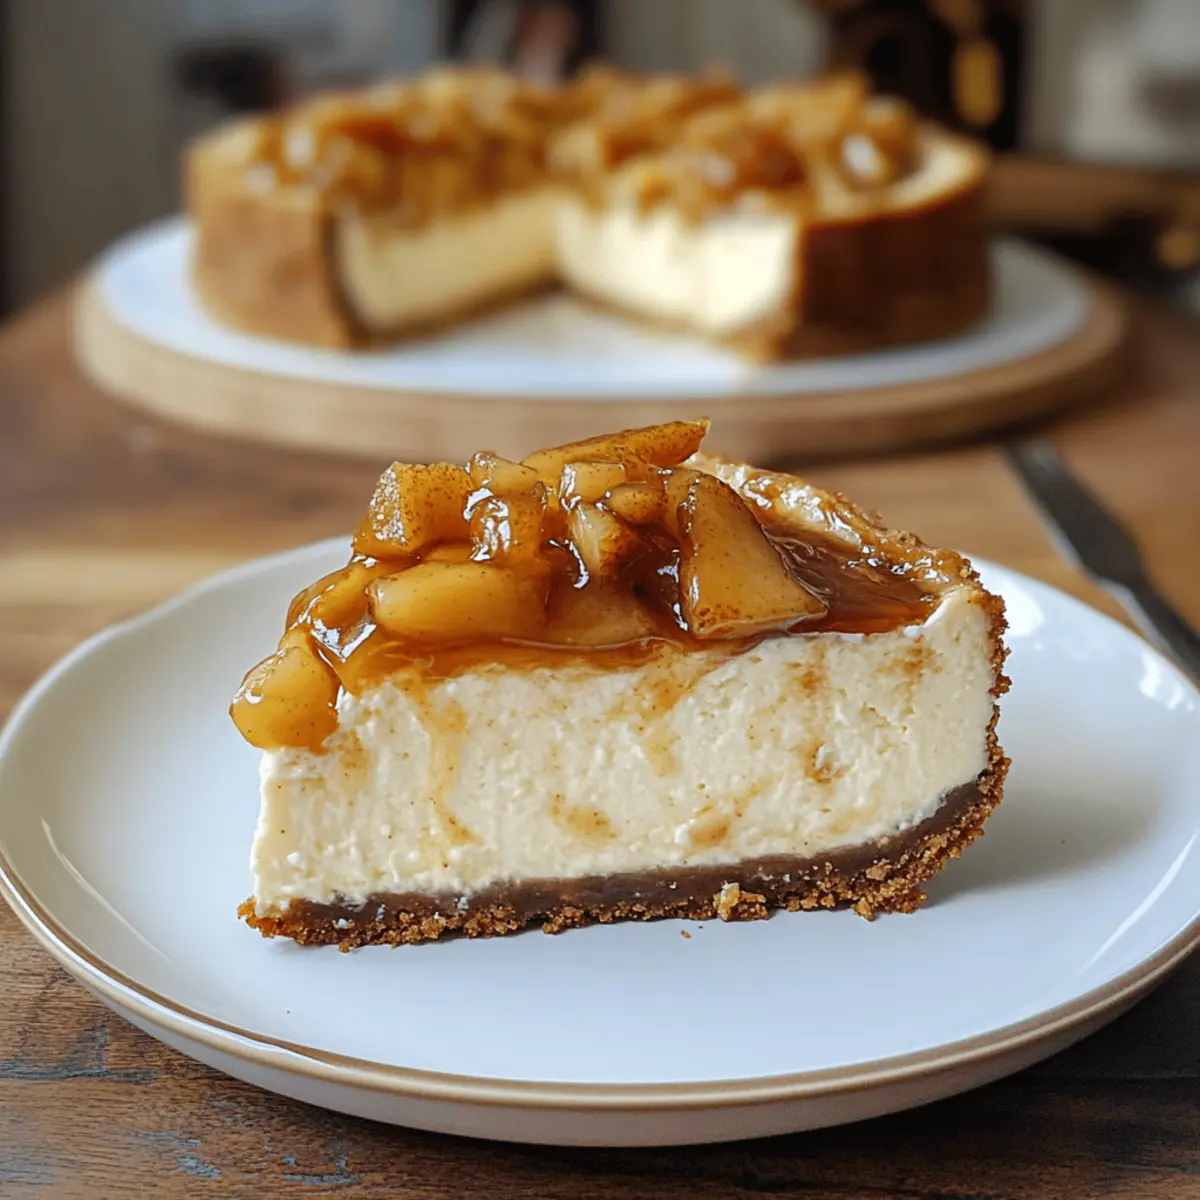
Fruit Forward: Top your Zimtschnecken Käsekuchen with fresh apple or pear slices for a lovely fruity infusion. The natural sweetness and texture contrast will elevate the entire dessert.
-
Spicy Kick: Add a pinch of nutmeg or a dash of cayenne pepper to the cheesecake mixture for a surprising spice that complements the cinnamon beautifully.
-
Decadent Topping: Consider drizzling your cooled cheesecake with a chocolate ganache or a simple caramel sauce just before serving. This indulgent layer takes it to the next level!
-
Vegan Version: Substitute cream cheese with vegan cream cheese, use flax eggs, and opt for a plant-based butter for the crust. A delicious way to enjoy plant-based baking!
-
Serving Suggestions: Pair with a dollop of whipped cream or a scoop of vanilla ice cream for that perfect finishing touch. And don’t forget a sprinkle of cinnamon on top for visual appeal!
Explore these variations and discover the sheer joy of making this recipe your own. If you’re interested in other delightful desserts, be sure to check out my cheesecake tips for more inspiration!
How to Store and Freeze Zimtschnecken Käsekuchen
Fridge: Store your Zimtschnecken Käsekuchen in the refrigerator, tightly covered with plastic wrap or in an airtight container, for up to 5 days to maintain its creamy texture.
Freezer: For longer storage, wrap individual slices in plastic wrap and then place them in a freezer-safe bag. The cheesecake can be frozen for up to 3 months.
Thawing: To enjoy frozen slices, transfer them to the fridge 4-6 hours before serving, allowing them to thaw gradually for the best flavor and texture.
Reheating: If you prefer to enjoy it slightly warm, use the oven at 150°C (300°F) for about 10-15 minutes. Just be careful not to overheat, as it can change the cheesecake’s texture.
Meal Prep Made Easy for Zimtschnecken Käsekuchen
These Zimtschnecken Käsekuchen are ideal for meal prep, allowing you to savor homemade goodness without the last-minute rush! You can prepare the cookie crust and the cheesecake filling up to 3 days in advance. Start by making the crust, letting it cool, and then tightly wrapping it in plastic wrap to prevent drying. The cheesecake filling can be mixed and stored in an airtight container in the fridge. When you’re ready to bake, simply pour the filling over the crust and proceed with the baking instructions. With these strategic steps and the reassurance of a delicious dessert ready to delight, busy weeknights just got a whole lot easier!
Expert Tips for Zimtschnecken Käsekuchen
• Room Temperature Ingredients: Make sure your cream cheese and eggs are at room temperature; this helps create a smooth, creamy filling without lumps.
• Don’t Overmix: Mix until just combined to avoid incorporating too much air, which can lead to cracks in your Zimtschnecken Käsekuchen during baking.
• Cool Gradually: After baking, crack the oven door to cool the cheesecake slowly. Rapid temperature changes can cause unsightly cracks on the surface.
• Chill Time: Be patient and allow plenty of time for chilling. Overnight refrigeration not only firms the cheesecake but also allows the flavors to meld beautifully.
• Check for Doneness: Aim for a slight jiggle in the center when baking; it will continue to set as it cools, ensuring a perfect texture.
What to Serve with Zimtschnecken Käsekuchen
Imagine savoring the sweet aroma of cinnamon in the air as you create a delightful meal around this indulgent dessert.
-
Fresh Berries: The tartness of strawberries or blueberries balances the sweetness of the cheesecake, adding a refreshing touch to each bite. A vibrant fruit salad brightens up the presentation, making your dessert table even more inviting.
-
Vanilla Ice Cream: Creamy vanilla ice cream melts delightfully over a warm slice of cheesecake, creating a luscious blend of flavors. The coolness contrasts beautifully with the warm cinnamon tones, enhancing your dessert experience.
-
Coffee: A rich cup of coffee complements the warm spices in the cheesecake, enhancing its flavors. The bitterness of the coffee harmonizes well, making for a comforting after-dinner treat.
-
Chocolate Sauce: Drizzling a rich chocolate sauce over your cheesecake elevates its decadence. The combination of chocolate and cream cheese creates a lavish dessert that leaves everyone wanting more.
-
Whipped Cream: Light and airy whipped cream serves as a delightful counterpoint to the dense cheesecake. A dollop on each slice adds not only flavor but also an elegant finish to your dessert.
-
Caramel Sauce: The sweetness of caramel infuses a luxurious touch that enhances the warm cinnamon notes. A drizzle on top creates an inviting visual appeal, perfect for impressing guests.
-
Chai Tea: Sipping on spiced chai adds a comforting element to your meal, bringing out the cinnamon flavors beautifully. This pairing warms the soul and rounds out your dessert experience perfectly.
-
Nutty Granola: Sprinkling a bit of crunchy granola on top adds texture and a nutty flavor that complements the creamy cheesecake. It’s a wonderful way to add dimension to each bite and surprises the palate.
Zimtschnecken Käsekuchen Recipe FAQs
What kind of cookies should I use for the crust?
Absolutely! For the best flavor and texture, I recommend using graham crackers for a classic touch. However, if you want a richer flavor, digestive biscuits or even vanilla wafers can work beautifully too! Just make sure to crush them finely to ensure a nice, even base.
How long can I store Zimtschnecken Käsekuchen in the fridge?
You can keep your Zimtschnecken Käsekuchen in the fridge for up to 5 days, tightly wrapped in plastic wrap or in an airtight container. This helps maintain its creamy texture and delicious flavor, so you can savor it longer!
Can I freeze Zimtschnecken Käsekuchen?
Yes! To freeze your creamy delight, slice it into individual pieces and wrap each one tightly in plastic wrap. Then, place the wrapped slices in a freezer-safe bag. It can comfortably sit in the freezer for up to 3 months. This way, you’ll always have a delicious treat ready for those sweet cravings!
Why did my cheesecake crack during baking?
Very! Cracks in cheesecake can often be caused by overmixing or rapid temperature changes while baking. To avoid this, mix your filling until just combined and crack the oven door slightly when baking is finished, allowing the cake to cool gradually. Remember, a slight jiggle in the center indicates it’s perfectly done!
Is this cake suitable for people with nut allergies?
Absolutely! This Zimtschnecken Käsekuchen recipe is nut-free, making it suitable for those with nut allergies. Just be sure to double-check all packaging for any hidden allergens, especially in your cookie choice.
How can I make this cheesecake gluten-free?
The more the merrier! If you’re looking to make this recipe gluten-free, simply substitute regular cookie crumbs with gluten-free cookies, like gluten-free graham crackers or almond flour-based cookies. Just ensure all other ingredients are certified gluten-free for a worry-free dessert!
Zimtschnecken Käsekuchen mit Keksboden
Zutaten
Kochutensilien
Method
- Heize den Ofen auf 180°C vor. Vermische Kekskrümel und geschmolzene Butter in einer Schüssel, bis die Mischung wie feuchter Sand aussieht. Drücke die Mischung in eine 9-Zoll Springform.
- Backe den Boden für etwa 10 Minuten bis goldbraun. Lass ihn abkühlen, während du die Käsekuchenfüllung vorbereitest.
- Schlage den Frischkäse in einer großen Schüssel cremig. Füge nach und nach Zucker hinzu und mische gut. Gib die Eier einzeln hinzu und rühre nur so lange, bis sie vermischt sind. Rühre Zimt und Sahne unter.
- Gieße die Käsekuchenmischung über den abgekühlten Keksboden und verteile sie gleichmäßig.
- Backe den Käsekuchen für ca. 45-50 Minuten, bis die Ränder fest sind und die Mitte leicht wackelt. Lasse den Käsekuchen im Ofen bei leicht geöffneter Tür abkühlen.
- Kühle den Käsekuchen mindestens 4 Stunden, idealerweise über Nacht, bevor du ihn servierst. Entferne die Springform, schneide in Stücke und genieße.